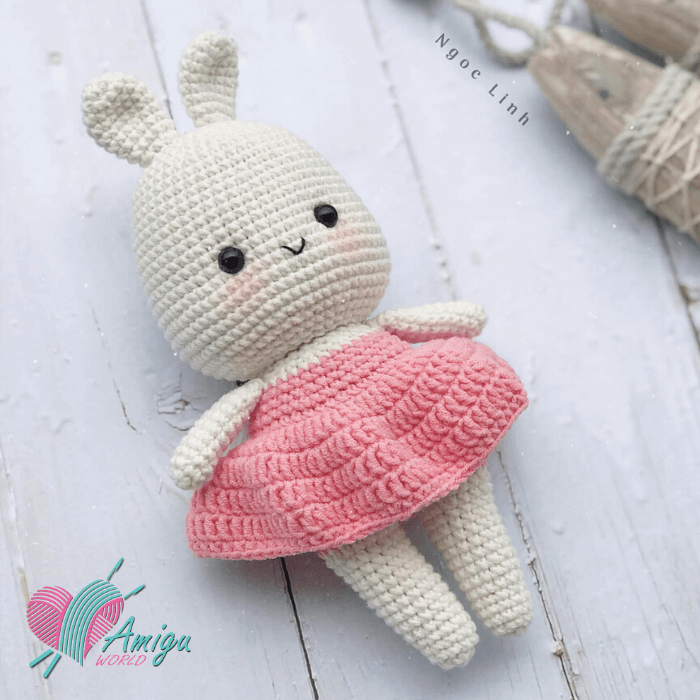
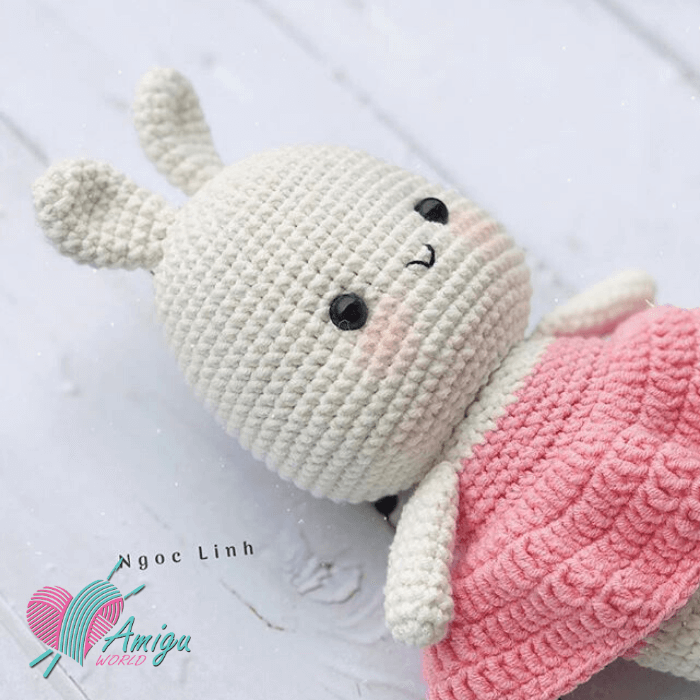
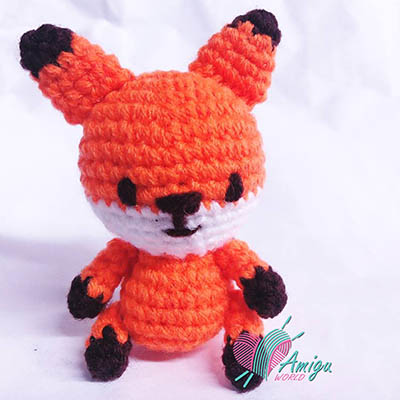
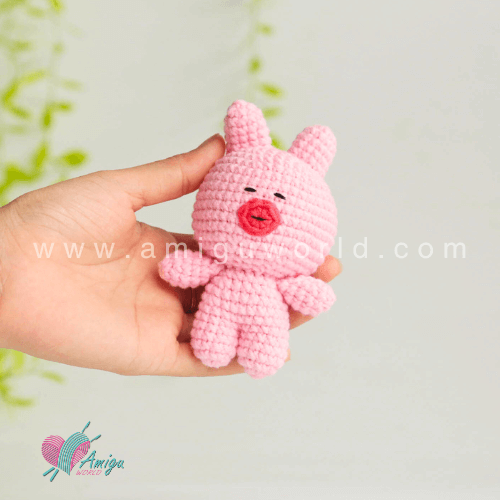
Are you looking for a gender-neutral gift that you can give to a child? Here we offer you a free Nina the little bunny Amigurumi instruction. Free Pattern by @ngoc_linh_0805. We love to share to our pattern and hope you will like it.
Pattern by: @ngoc_linh_0805
Picture: @ngoc_linh_0805
Editor: @AmiguWorld
Abbreviations:
R= round
mr = magic ring
sc = single crochet
inc = increase (2 sc in the next stitch)
dec = decrease (join the next 2 stitches into 1)
sl st = slip stitch
st = stitch
ch = chain
dc = double crochet
tr = treble crochet
hdc = half double crochet
F.O = finish off
BLO = back loop only
FLO = front loop only
F.O = finish off
[ ] = number of stitches you should have at the end of the round/row
( ) x 6 = repeat whatever is between the brackets the number of times stated
To crochet nina the little bunny amigurumi you need:
– Yarn: White (or skin color), pink color yarn or any your favorite color.
– Crochet hook: 2.0mm
– Fiberfill for stuffing
– Sewing needle, scissors
– Black embroidery thread to make the mouth
Lovely Nina the little bunny amigurumi
Free crochet patterns
To make this little bunny you will start crochet from Leg. And from legs continue crochet body and head.
Legs (Make 2)
Leg 1
Start with white yarn
| R 1: 6 sc in mr | [6] |
| R 2: inc x 6 | [12] |
| R 3-5: 12 sc (3 rounds) | [12] |
| R 6: 3 sc, (1 sc, inc) x 3, 3 sc | [15] |
| R 7-13: 15 sc (7 rounds) | [15] |
| R 14: 3 sc, (1 sc, inc, 1 sc) x 3, 3 sc | [18] |
| R 15-16: 18 sc (2 rounds) | [18] |
| Change to pink = dress’s color | |
| R 17-18: 18 sc (3 rounds) | [18] |
FO. Stuff with fiberfill. Cut the yarn, leaving a long tail for sewing.
Leg 2
Make the other leg, don’t cut the yarn. Stuff both legs firmly.
From second leg make a chain of 1 ch.
R 19: 18 sc (leg 1), 1 sc on the chain, 18 sc (leg 2), sc on the other side of the chain [38]
Continue to crochet the body using the stitches of both legs.
| R 20: ( 5 sc, inc) x 3, sc, (5 sc, inc) x 3, 1 sc | [44] |
| R 21: (3 sc, inc, 3 sc) x 3, sc, (3 sc, inc, 3 sc) x 3, 1 sc | [50] |
| R 22-24: 50 sc (3 rounds) | [50] |
| R 25: 1 sc, (2 sc, inc, 2 sc) x 8, 1 sc | [42] |
| R 26: 42 sc | [42] |
| Change white = body’s color yarn | |
| R 27: BLO 42 sc | [42] |
| R 28: 42 sc | [42] |
| R 29: 1 sc, (3 sc, dec) x 8, 1 sc | [34] |
| R 30-31: 34 sc (2 rounds) | [34] |
| R 32: 2 sc, (1 sc, dec) x 10, 2 sc | [24] |
| R 33: 24 sc | [24] |
FO. Stuff with fiberfill. Cut the yarn, leaving a long tail for sewing.
Dress
Start with pink yarn
R 1: At round 27 of the body: FLO and make 3 chains, (1 dc, 2 dc in one stitch) x 21 times, sl.
R 2: 3 ch (2 dc, 2 dc in on stitch) x 21, sl st. Have 84 stitches in total.
R 3-4: 3 ch, 84 dc, sl (2 rounds)
R 5: 1 ch, 84 sc, sl st.
Arm (make 2)
Start with white yarn
| R 1: 5 sc in mr | [5] |
| R 2: inc x 5 | [10] |
| R 3-5: 10 sc (3 rounds) | [10] |
| R 6: (4 sc, inc) x 2 | [12] |
| R 7-10: 12 sc (4 rounds) | [12] |
| R 11: (1 sc, dec) x 4 | [8] |
FO. Stuff with fiberfill. Cut the yarn, leaving a long tail for sewing.
Head
Start with white yarn
| R 1: 6 sc in mr | [6] |
| R 2: inc x 6 | [12] |
| R 3: (1 sc, inc) x 6 | [18] |
| R 4: (1 sc, inc, 1 sc) x 6 | [24] |
| R 5: (3 sc, inc) x 6 | [30] |
| R 6: (2 sc, inc, 2 sc) x 6 | [36] |
| R 7: (5 sc, inc) x 6 | [42] |
| R 8: (3 sc, inc, 3 sc) x 6 | [48] |
| R 9-11: 48 sc (3 rounds) | [48] |
| R 12: (11 sc, inc) x 4 | [52] |
| R 13-15: 52 sc (3 rounds) | [52] |
| R 16: (6 sc, inc, 6 sc) x 4 | [56] |
| R 17: 56 sc | [56] |
| R 18: 23 sc, maker for the first eye, 9 sc, maker for the second eye, 24 sc | |
| R 19: 12 sc, (2 sc, inc) x 4, 8 sc (inc, 2 sc) x 4, 12 sc | [64] |
| R 20 -23: 64 sc (4 rounds) | [64] |
| R 24: (3 sc, dec, sc) x 8 | [56] |
| R 25: (5 sc, dec) x 8 | [48] |
| R 26: (2 sc, dec, 2 sc) x 8 | [40] |
| R 27: (3 sc, dec) x 8 | [32] |
| R 28: (1 sc, dec, 1 sc) x 8 | [24] |
FO. Stuff with fiberfill. Cut the yarn, leaving a long tail for sewing.
Ears (Make 2)
Start with white yarn
| R 1: 5 sc in mr | [5] |
| R 2: inc x 5 | [10] |
| R 3: (1 sc, inc) x 5 | [15] |
| R 4-6: 15 sc (3 rounds) | [15] |
| R 7: (3 sc, dec) x 3 | [12] |
| R 8-9: 12 sc (2 rounds) | [12] |
| R 10: (1 sc, dec) x 4 | [8] |
FO. Cut the yarn, leaving a long tail for sewing.
Assembly:
– Glue two eyes to the head
– Embroider muzzle on the head. Bunny’s muzzle should be centered between the eyes.
– Pin the ears to the head, then sew them on.
– Pin the arms to the body, then sew them on.
– Sew the head to the body
Your bunny amigurumi just finished. As always you are welcome to visit our website for more free patterns. Thank you!
You can download other version other language of this bunny at below link:
Thank you for supporting us.
#AmiguWorld


