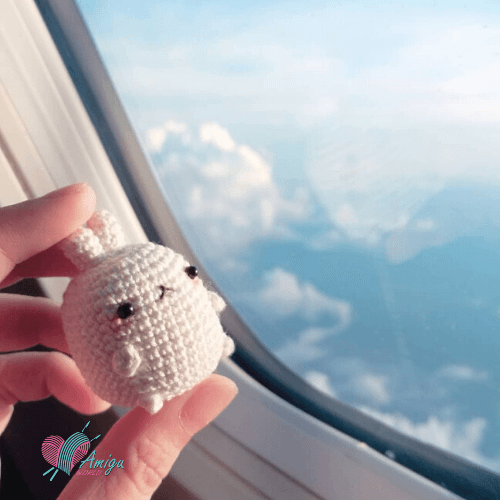


This little bunny amigurumi is so easy to make! You can make him yourself with our step-by-step pattern below. So let’s crochet with AmiguWorld right now! You can do it.

Pink bunny crochet
Pattern by: @knitted_toy_blg
Picture: @knitted_toy_blg and @ketti.toys
Translated by: @AmiguWorld
Abbreviations:
R= round
mr = magic ring
sc = single crochet
inc = increase (2 sc in the next stitch)
dec = decrease (join the next 2 stitches into 1)
sl st = slip stitch
st = stitch
ch = chain
FO = finish off
[ ] = number of stitches you should have at the end of the round/row
( ) x 6 = repeat whatever is between the brackets the number of times stated
To crochet this bunny amigurumi you need:
– Yarn: Pink and black (You also can use any of your favorite color) and red yarn for embroidering cheeks.
– Hook: 2.5mm Crochet hook
– Ribbon: One ribbon bow if you want
– Fiberfill for stuffing
– Sewing needle and scissors
Cute Bunny amigurumi
Free crochet patterns
Legs (make 2)
Leg 1
Start with pink yarn
| R 1: 6 sc in mr | [6] |
| R 2: (1 sc, inc) x 3 | [9] |
| R 3: (2 sc, inc) x 3 | [12] |
| R 4-5: 12 sc (2 rounds) | [12] |
| R 6: (3 sc, inc) x 3 | [15] |
| R 7-8: 15 sc ( 2 rounds) | [15] |
FO. Stuff with fiberfill. Cut the yarn, leaving a long tail for sewing.
Leg 2
Make the other leg, don’t cut the yarn. Continue to crochet 3 ch and join leg 1 with sl st.
Continue to crochet the body using the stitches of both legs.
Body
Start with pink yarn
R 9: 15 sc (leg 1), 3 sc (3 stitches of chain), 15 sc (leg 2), 3 sc (3 stitches on another side of chain). [36]
| R 10-12: 36 sc (3 rounds) | [36] |
| R 13: (5 sc, inc) x 6 | [42] |
| R 14-16: 42 sc ( 3 rounds) | [42] |
| R 17: (5 sc, dec) x 6 | [36] |
| R 18: 36 sc | [36] |
| R 19: (4 sc, dec) x 6 | [30] |
| R 20: 30 sc | [30] |
| R 21: ( 3 sc, dec) x 6 | [24] |
| R 22: 24 sc | [24] |
| R 23: ( 2 sc, dec) x 6 | [18] |
FO. Stuff with fiberfill. Cut the yarn, leaving a long tail for sewing.
Head
Start with pink yarn
R 24: 18 sc [18]
| R 25: 18 sc | [18] |
| R 26: inc x 18 | [36] |
| R 27: (5 sc, inc) x 6 | [42] |
| R 28: (6 sc, inc) x 6 | [48] |
| R 29: (7 sc, inc) x 6 | [54] |
| R 30: (8 sc, inc) x 6 | [60] |
| R 31-42: 60 sc (12 rounds) | [60] |
| R 43: (8 sc, dec) x 6 | [54] |
| R 44: (7 sc, dec) x 6c | [48] |
| R 45: (6 sc, dec) x 6 | [42] |
| R 46: (5 sc, dec) x 6 | [36] |
| R 47: (4 sc, dec) x 6 | [30] |
| R 48: (3 sc, dec) x 6 | [24] |
| R 49: (2 sc, dec) x 6 | [18] |
| R 50: (1 sc, dec) x 6 | [12] |
| FO. Stuff with fiberfill. Cut the yarn, leaving a long tail for sewing. dec x 6 | [6] |
FO. Stuff with fiberfill. Cut the yarn, leaving a long tail for sewing.
Note: Insert safety eyes (or normal eyes) between round 36 and round 37 at the distance of 3-4 stitches in between the eyes.
Arms (make 2)
Start with pink yarn
| R 1: 6 sc in mr | [6] |
| R 2: (1 sc, inc) x 3 | [9] |
| R 3-12: 9 sc (10 rounds) | [9] |
FO. Stuff with fiberfill. Cut the yarn, leaving a long tail for sewing.
Ears (make 2)
Start with pink yarn
| R 1: 6 sc in mr | [6] |
| R 2: inc x 6 | [12] |
| R 3: (1 sc, inc) x 6 | [18] |
| R 4-7: 18 sc (4 rounds) | [18] |
| R 8: (1 sc, dec) x 6 | [12] |
| R 9-13: 12 sc (5 rounds) | [12] |
FO. Cut the yarn, leaving a long tail for sewing.
Like arms, you fold the top of the ear flat and 6 sc through both sides across. FO, cut the yarn and leave a long tail for sewing.
Assembly:
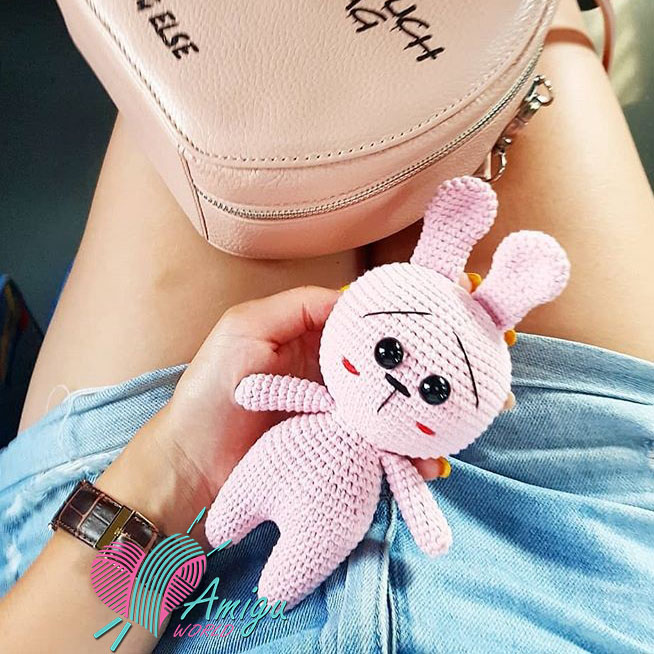
– Embroider a nose and eyebrows with black yarn (like the picture). The nose should be centered between the eyes.
– Sew ears to the head.
– Sew the arms to the body
– Embroider cheeks with red yarn color.
So, your cute bunny with pink color yarn is finished. You can use ribbon to make a bow for your bunny. Does it make it so easy, it isn’t.
Thank you for supporting us.
#AmiguWorld

You Might Also Like