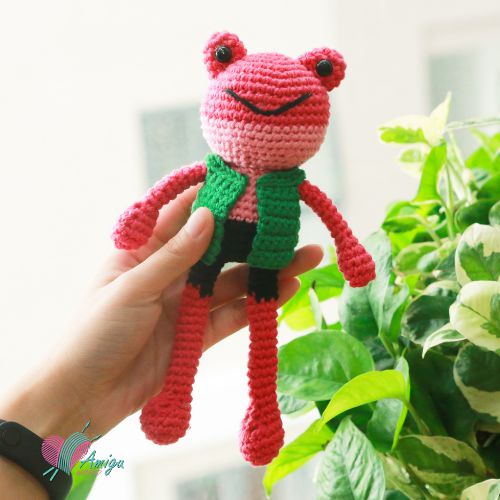
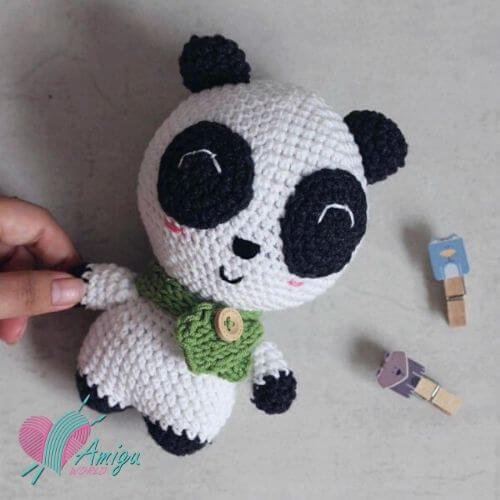
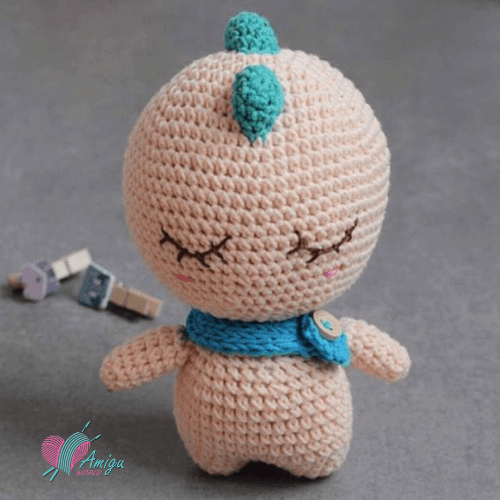
Get your crochet hook ready for this pattern. A Little Sheep Amigurumi will be shown in our tutorial today. As always the instruction will be presented step by step for beginners. Pick up the color of your sheep and let’s get started!
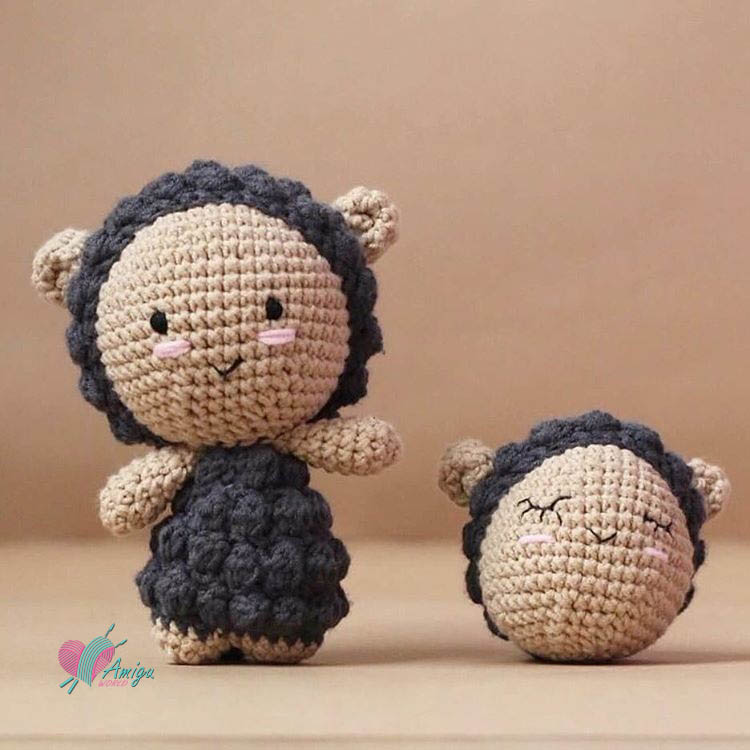
A cute sheep amigurumi – pattern by lenlenlenlen
Pattern by: @lenlenlenlenshop
Picture: @lenlenlenlenshop
Translate: @AmiguWorld
Abbreviations:
R = round
mr = magic ring
sc = single crochet
inc = increase (2 sc in the next stitch)
dec = decrease (join the next 2 stitches into 1)
sl st = slip stitch
st = stitch
ch = chain
dc = double crochet
tr = treble crochet
hdc = half double crochet
B = 3hdc-inc = 3hdc popcorn (Crochet the half double Crochet 3 Together Bobble)
BLO = back loop only
FLO = front loop only
FO = finish off
[ ] = number of stitches you should have at the end of the round/row
( ) x 6 = repeat whatever is between the brackets the number of times stated
To crochet cute sheep amigurumi you need:
– Yarn: light brown, dark blue color yarn
– Crochet hook
– Fiberfill for stuffing
– Sewing needle, scissors, and button
Cute Sheep Amigurumi
Free crochet patterns
To make this cute fat chicken you will start crochet from Leg. And from legs continue crochet body and head.
Legs (Make 2)
Leg 1
Start with light brown yarn
| R 1: 6 sc in mr | [6] |
| R 2: (1 sc, inc) x 3 | [9] |
| R 3: (2 sc, inc) x 3 | [12] |
| R 4: (3 sc, inc) x 3 | [15] |
Stuff with fiberfill. Cut yarn and hide the tail.
Leg 2
Make the other leg, don’t cut the yarn. Join leg 1 with sl st.
R 5: 15 sc (leg 1), 15 sc (leg 2) [30]
Continue to crochet the body using the stitches of both legs.
Body
Start with dark blue yarn
Start to crochet to the popcorn stitches to make the body (this popcorn stitch is only visible when reversed, so after connecting leg 1 and leg 2 with a slip stitch, you will reverse to crochet the body). Finish the loops with the slip stitch.
How to crochet popcorn stitch = B
Note:
2 chains = T
(T, B) = crochet hdc, crochet the double crochet 5 together bobble
| R 1: 2 chain (=1 T), 1 B in the next stitch, (T, B) x 14 | [30] |
| R 2: Sl st, 30 sc | [30] |
| R 3: sl st, 2 ch, 1 B in the next stitch, (T, B) x 14 | [30] |
| R 4: sl st, (3 sc, 1 dec) x 6 | [24] |
| R 5: sl st, 2 ch, 1 B in the next stitch, (T, B) x 14 | [24] |
| R 6: sl st, (2 sc, 1 dec) x 6 | [18] |
| R 7: sl st, 2 chains, 1 B in the next stitch, (T, B) x 8 | [18] |
| R 8: sl st, 18 sc | [18] |
Sl st. Stuff with fiberfill. Cut the yarn, leaving a long tail for sewing.
Head
Start with light brown yarn
| R 1: 6 sc in mr | [6] |
| R 2: inc x 6 | [12] |
| R 3: (1 sc, inc) x 6 | [18] |
| R 4: (2 sc, inc) x 6 | [24] |
| R 5: (3 sc, inc) x 6 | [30] |
| R 6: (4 sc, inc) x 6 | [36] |
| R 7: (5 sc, inc) x 6 | [42] |
| R 8: (6 sc, inc) x 6 | [48] |
| R 9: (7 sc, inc) x 6 | [54] |
| R 10: 54 sc | [54] |
| R 11: (8 sc, inc) x 6 | [60] |
| R 12-19: 60 sc (8 rounds) | [60] |
| R 20: (8 sc, dec) x 6 | [54] |
| R 21: 54 sc | [54] |
| R 22: (7 sc, dec) x 6 | [48] |
| R 23: (6 sc, dec) x 6 | [42] |
| R 24: (5 sc, dec) x 6 | [36] |
| R 25: (4 sc, dec) x 6 | [30] |
| R 26: (3 sc, dec) x 6 | [24] |
| R 27: (2 sc, dec) x 6 | [18] |
Sl st. Stuff with fiberfill. Cut yarn and hide the tail.
Arms (make 2)
Start with light brown yarn
| R 1: 6 sc in mr | [6] |
| R 2: (1 sc, inc) x 3 | [9] |
| R 3-7: 9 sc (5 rounds) | [9] |
Sl st. Stuff with some fiberfill. Cut the yarn, leaving a long tail for sewing.
Hook
Start with dark blue yarn
| R 1: 6 sc in mr | [6] |
| R 2: (1 B, 1 hdc in the stitch ) x 6 | [12] |
| R 3: inc x 12 | [24] |
| R 4: (1 B, 1 inc) x 12 | [36] |
| R 5: (1 sc, 1 inc) | [36] |
| R 6: (1 hdc, 1 B) x 18 | [36] |
| R 7: ( 5 sc, 1 inc) x 6 | [42] |
| R 8: (1 B, 1 inc) x 21 | [42] |
| R 9: 42 sc around | [42] |
| R 10: (1 hdc, 1 B) x 21 | [42] |
| R 11: 42 sc around | [42] |
| R 12: (1 B, 1 hdc) x 21 | [42] |
| R 13: 42 sc around | [42] |
| R 14: (1 B, 1 hdc) x 21 | [42] |
| R 15: 42 sc around | [42] |
Cut the yarn, leaving a long tail for sewing.
Ears (make 2)
Start with light brown yarn
| R 1: 6 sc in mr | [6] |
| R 2: (1 sc, inc) x 3 | [9] |
| R 3-10: 9 sc (5 rounds) | [9] |
Assembly:
– Embroider eyes and two cheeks on the head (like the picture).
– Pin the ear to the hook, then sew them on.
– Pin the hook to the head, then sew them on.
– Sew the head to the body
– Pin the arms to the body, then sew them on..
I believe a sheep will be useful as a character in our tales given to your children. Thanks for visiting our website. Love you all!
Thank you for supporting us.
#AmiguWorld


