

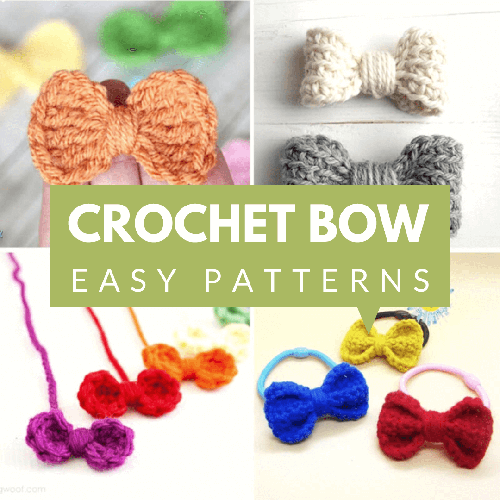
You want to crochet a bow for amigurumi toys or you want to use it to decorate various things. These crochet bow patterns are so easy. You can literally whip up one of these baby bows in 5 minutes or fewer. On top of that, If your friend is having a girl, attach these to an alligator clip or a headband.
Project 1
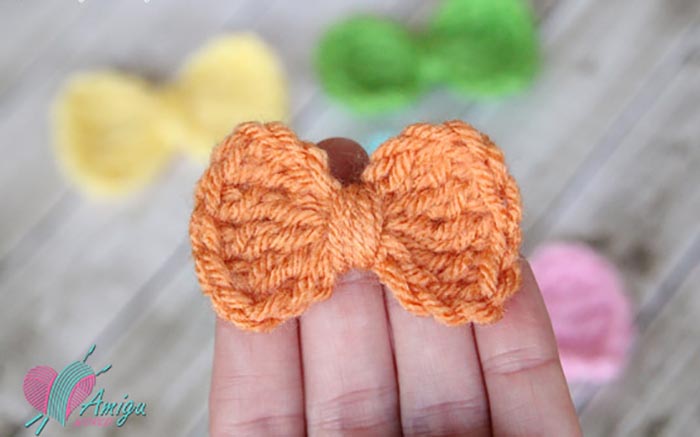
How to crochet bow for beginners project 1
Make Magic Ring and ( ch 5, 7 tr into the ring, ch 5, 1 sc into the ring) x 2 times, sl st to first ch. Fasten off.
Leave the thread about 15–20 cm long. Tighten the magic ring. The remaining thread rewind the middle of the bow. Tie a knot. Hide the ends of the thread.Cute little bow step by step.
Source: http://bohemian-cat.com
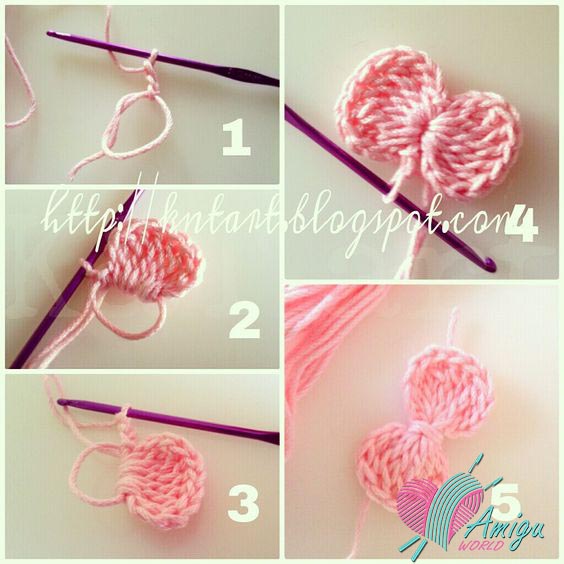
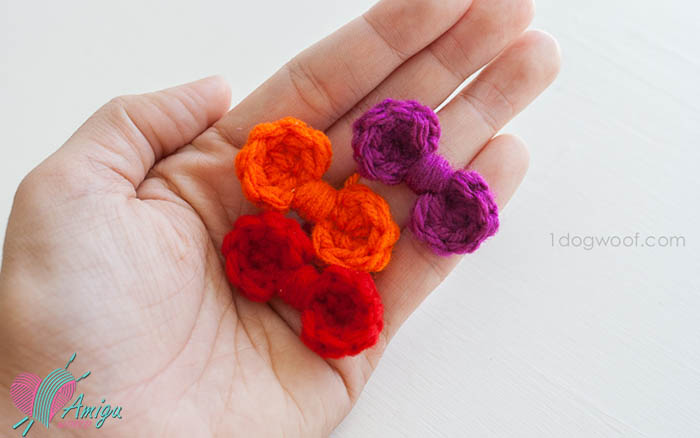
Project 2
How to crochet bow for beginners project 2
- Chain 5.
- Work 1 sc into the second chain from hook.
- Work 1 sc in each of the next 2 chain spaces.
- Work 6 dc into the last chain space. You’ve gone around the bend.
- Coming down the other side of the chains, work 1 sc in each of the next 2 ch spaces.
- Work 6 dc into the last chain space. Note that in order to fit all 6 stitches in, you’ll actually cover up our first sc, so…
- Slip stitch into the 2nd sc you made, not the first.
- Fasten off, leaving a longish tail to attach to whatever you want to attach your bow to. Weave in the beginning tail.
- Take the finishing tail and wrap it several times around the center of this “mini hot dog” you just crocheted to create the bow look.
- Using an embroidery needle, weave the end through the wrapping in the back, twice, to secure.
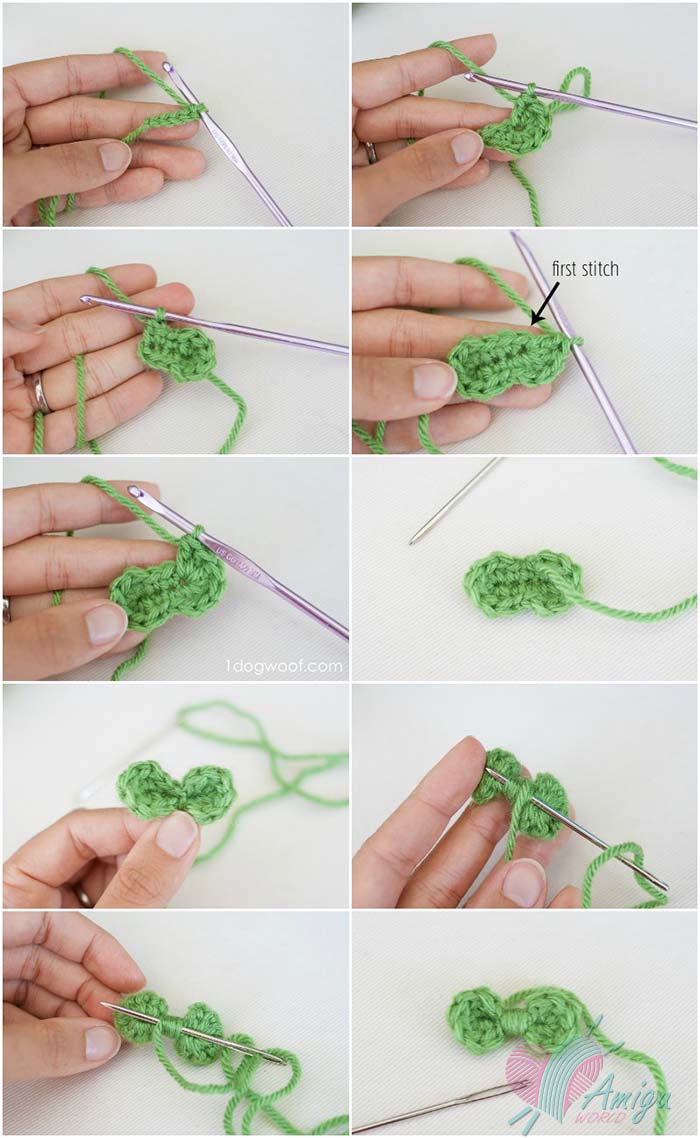
How to crochet bow instructions for beginners project 2
Source: https://www.1dogwoof.com/
Project 3
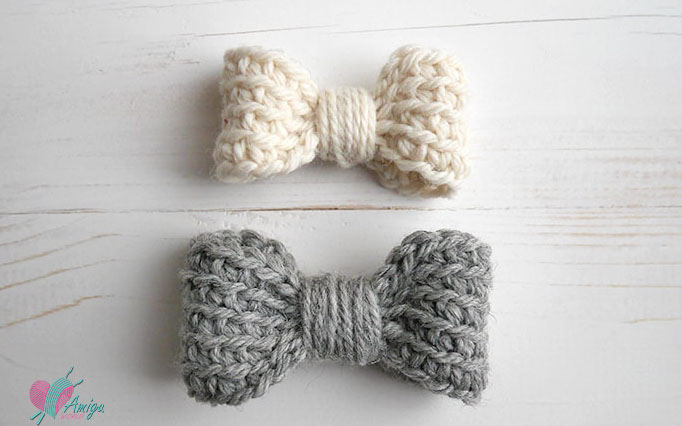
How to crochet bow for beginners project 3
R1: ch 24, sl st to join in a circle (24)
The sl st of R1 is also the first st of R2, so put a stitch marker there to remember the beginning of each new round.
R2: sl st in next 3 st(s), sc 8, sl st 4, sc 8 (24)
All the stitches in the following rounds will be worked in back loops only.
R3-5: BLO sl st 4, sc 8, sl st 4, sc 8 (24)
In the last round only after you finish the last 8 sc, sl st 2-3 more until you find yourself in the middle of the bow and then cut the yarn and pull it through.
Grab both ends of yarn and start winding them around the middle of your bow. Now is the time to add the elastic band if you choose to. No sewing required!
Source: https://mallooknits.com/
Project 4
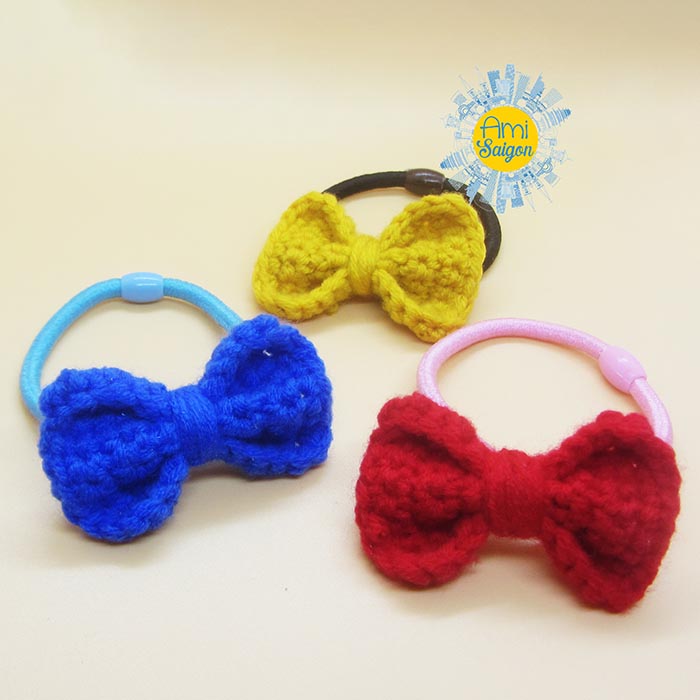
How to crochet bow for beginners project 4
Start with yellow yarn
R1: Begin with 10ch and the second ch from hook you crochet 9ch. 1ch.
R2-10: 1 ch, 9 sc
R11: 29 sc
Pull yarn tail to tighten the loop, leave enough yarn to wrap around the center of the bow. End off. Weave in loose ends.
Source: https://www.youtube.com/c/amisaigon
Just finished. Now you have a mini bow to decorate for your amigurumi toys. Leave a comment Was this article helpful to you? It’s really important for us to know this.
Thank you for supporting us.
#AmiguWorld

You Might Also Like